The MAS office will be closed for Christmas Holidays December 24th to January 4th.
Usual office hours will resume on January 5th, 2026
As promised, here is a quick how-to on encapsulating materials as the alternative to lamination.

Before we start, it is important to note: not everything can be encapsulated. The plastic that is used in this technique is polyester. Using this technique, the polyester will be given an electrostatic charge, so anything that is not firmly adhered to the paper (like pastels or charcoal) should not be encapsulated in this manner. Also, gelatin emulsion photographs should not use this technique as a precaution[ii].
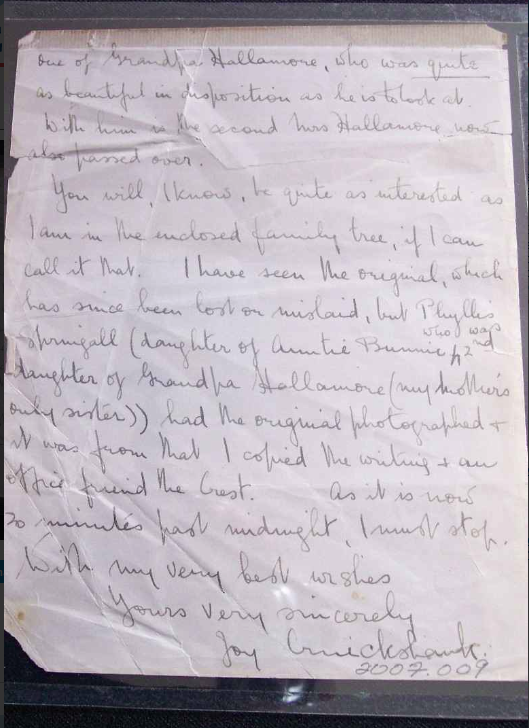
An encapsulated letter
Things you will need:
Steps:
1. Measure out your object and determine how much polyester will be needed to cover it; ensure that you have accounted for at least a 5 cm border around the object[iii].
2. Cut out the two sides of your polyester. Ensure it is clean for use with a lint-free cotton cloth.
3. Place one side of your polyester down on the cutting surface and centre your artifact on top. Use a clean weight to hold the two down so that they do not move.
4. Create a border around your artifact, about 4 mm away from it, on all four sides of the polyester.
5. Wipe the second piece of polyester with the cloth, creating an electrostatic charge. Move the weight off so that you can place the second piece of polyester on top. This sandwiches your artifact in-between the two pieces. Place the weight back on top.
6. Remove one strip of tape at a time. Smooth down the polyester using a small squeegee or roller, adhering both sides together.
7. Using the ruler and Exacto knife, and trim around all four sides of the new artifact-polyester sandwich. Round the corners to make sure it doesn’t get caught on anything while moving or in storage.
* If you cannot visualize these steps. Click on either the National Park Service or Canadian Conservation Institute links at the end of the blog post for step-by-step visual instructions. *
Suppliers:
Carr Mclean sells an encapsulation kit.

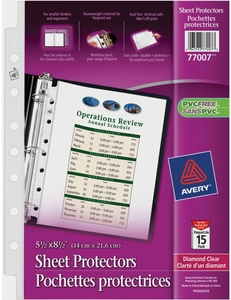
Since polyester film is a specialized purchase, see if your Network is interested in bulk buying or if anyone already has the supplies and is willing to share. For smaller items, a less labour intensive alternative would be to purchase some plastic sleeves made of polyethylene or polypropylene (such as the product to the left). Those can be found at stores like Staples or Walmart.
Practice! Try this technique out on a piece of paper first before doing it on a real artifact. It may not work out for you the first time you try, but the more you do it the better you will get
I am a PVC FREE Sheet Protector!
As always, if you have any questions or comments, feel free to add them below. I can also be reached by email at [email protected] or call me at 306-780-9266.
References and Further Information:
Northeast Document Conservation Centre. Storage Enclosures for Books and Artifacts on Paper. http://www.nedcc.org/resources/leaflets/4Storage_and_Handling/04StorageEnclosures.php (2007)[ii] National Parks Service. Polyester Encapsulation. http://www.nps.gov/history/museum/publications/conserveogram/13-03.pdf (1993)[iii] Canadian Conservation Institute. Encapsulation. http://www.cci-icc.gc.ca/publications/notes/11-10-eng.aspx (1995)

Usual office hours will resume on January 5th, 2026

Just a reminder that the Final Report for the Museum Improvement Micro Grant for Community Museums is due December 5th! Your final report will require you to provide a brief

Thursday October 16, 202512:00pm CSTOnline via Zoom: https://us02web.zoom.us/j/86760471705?pwd=XjoSlWAP0TJZVYrprylmLqujOkVrk2.1 No registration required. The Museum Grant Program (MGP) provides operational funding to help foster strong, vibrant, community-based Saskatchewan museums that are valued