In previous posts, we’ve looked at how you can set up and manage your Facebook page. The next step is to start adding content to your page. In this tutorial you learn how to add photos and photo albums, share videos, articles and create event pages.
Photos
There are two ways you can add photos to your page: you can create an album to store your photos in, or you can add a photo directly to your status.
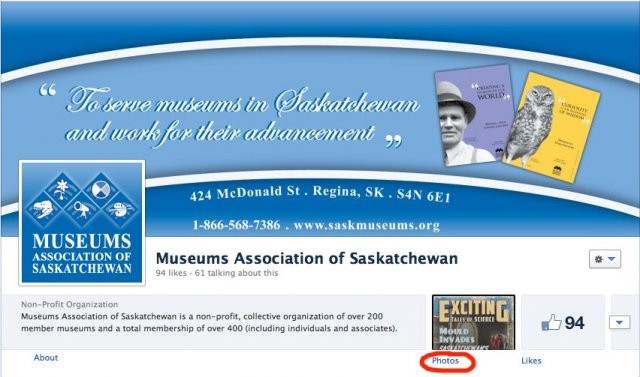
Create an Album – If you have more than one photo it’s probably a good idea to create a designated album to store the photos in. To do this click on app named “Photos” located under your profile picture, to the right of the About section.
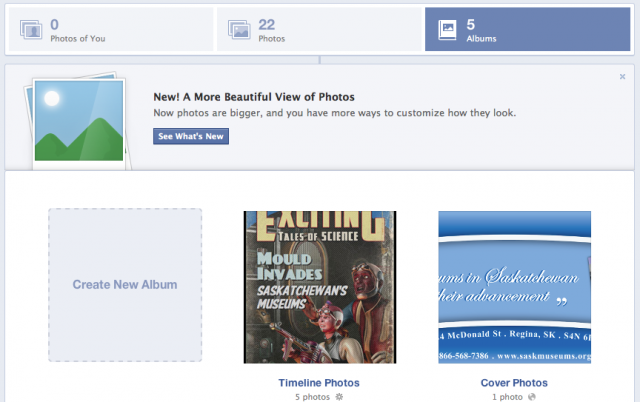
Then choose the tab “Albums” and click on the box labeled “Create New Album”.
Find the photos you would like to add to your album and choose open.
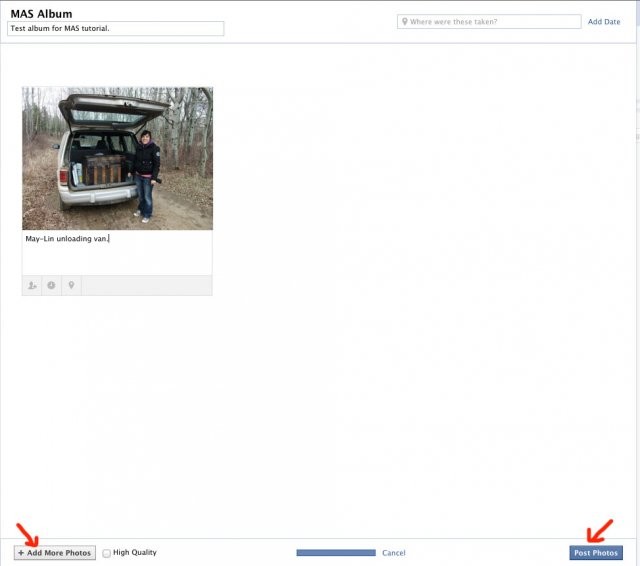
Name your album and provide a description in the boxes provided. You also have the option of filling in descriptions for each of your photos. If you would like to add more photos to your album choose the button “+Add more photos” If you are satisfied with the photos in your album choose “Post Photos”.
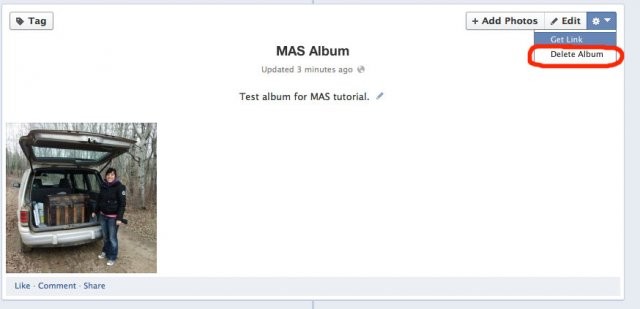
You will now see your album at the top of the Albums page. If you wish to delete your album choose “Delete Album” from the drop down menu.
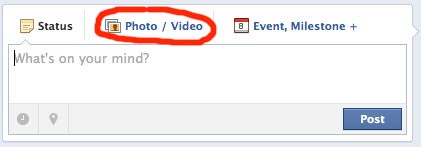
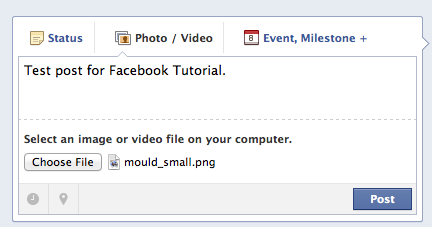
Add a Photo in Your Status – In the status box where you would normally type out a status, choose “Photo/Video”. Choose “Attach Photo/Video”. Notice that you can also choose “Create Photo Album” here as well.
Click on “Choose File” and browse for the photo you want to post. Type in the status box a description of the photo and click post. You will now see your photo on your timeline.
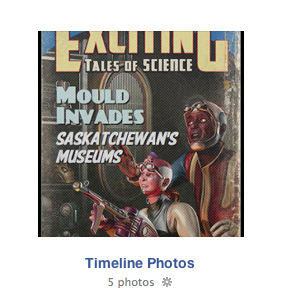
Where are your photos stored if you post them directly on your timeline? Facebook automatically places the photos in an album called “Timeline Photos”.
Add a video – Adding a video is as simple as adding a photo. Choose the “Photo/Video” tab, browse for the video on your computer, add a description and hit “Post”.
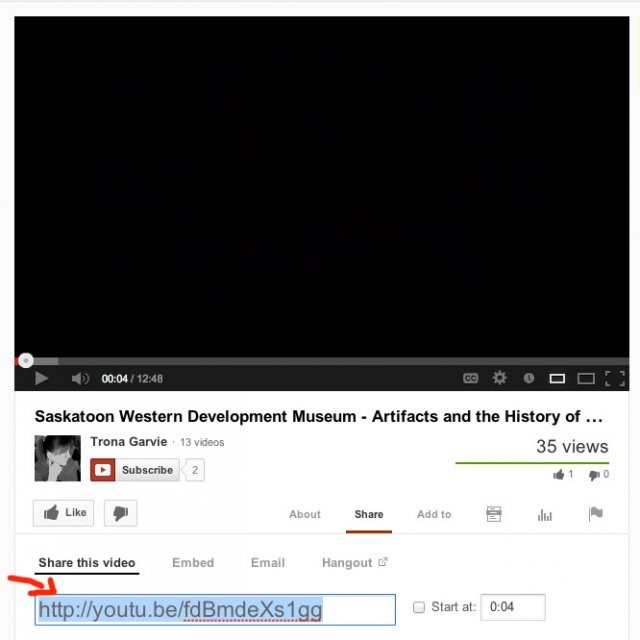
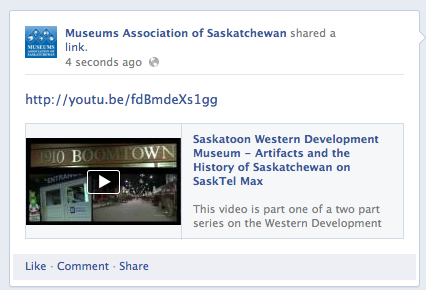
If you would like to share a video that is hosted on a different website such as YouTube, choose the “Share” button located under the video on YouTube. Copy and paste the link provided into your status and hit “Post”.
The video will now appear on your page:
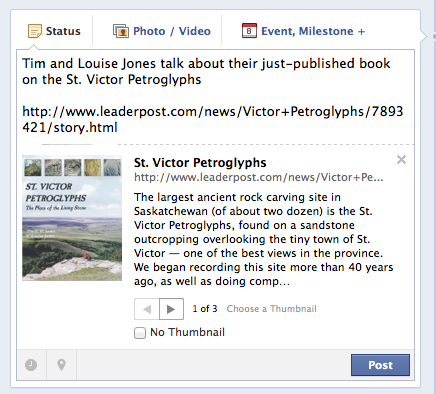
Share a link to an article – Sharing a link to an article works in the same way as sharing a YouTube video. Simply copy and paste the link to the article into the status box, add a description above the link if you like and hit “Post”.
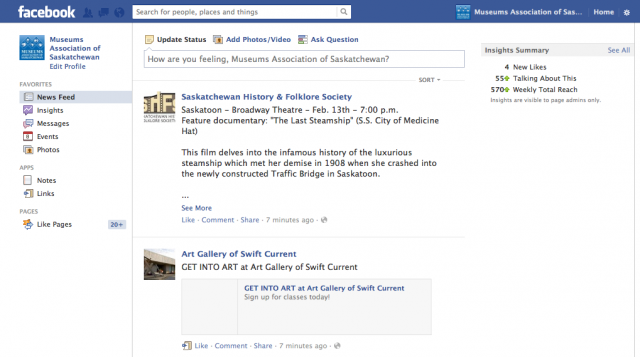
Sharing others’ posts – Another way to add content to your page is by sharing posts from others. Go to your newsfeed by clicking the “Home” button and find a post you would like to share.
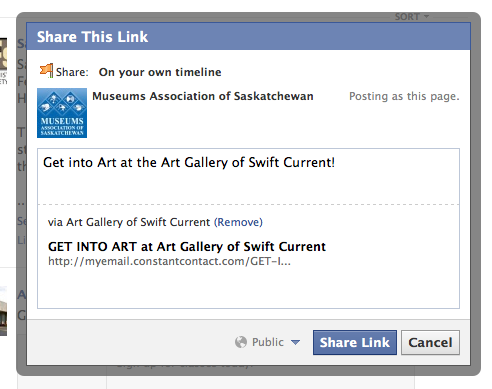
Click the button “Share” located under the post. Type in a description and hit “Share Link”.
You should now see the article on your Facebook page.
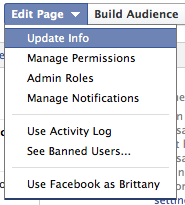
Create an Event – Creating an Event is a little different than adding a photo, link or video. Go to “Edit Page” at the top of your page and choose “Update Info”.
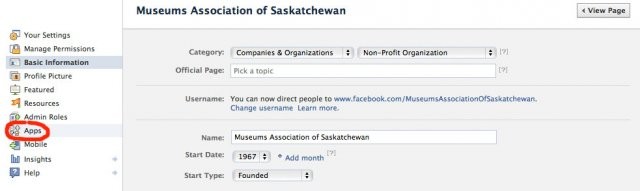
From the left hand column menu, choose “Apps”.
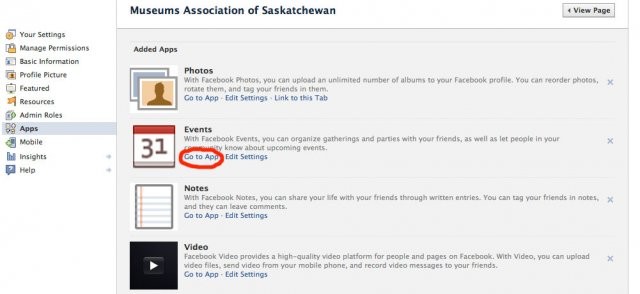
Under Events, click “Go to App”.
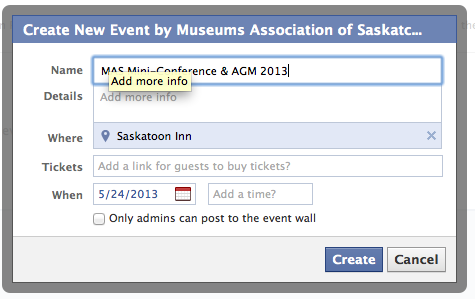
A pop-up window should appear. If it doesn’t appear click “Create Event”. Fill in the details of your event in the fields provided. Click “Create”.
Promoting Your Event – Once you’ve created your event it’s highly recommended that you create a special update announcing your event. The best way to do this is by adding an image advertising your event and putting the event details and link in your status.
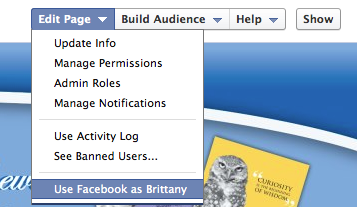
Another way to promote your event would be to use your personal page. You can share the event on your own personal page. To do this, make sure you are using the Facebook page as yourself, and not the organization’s page:
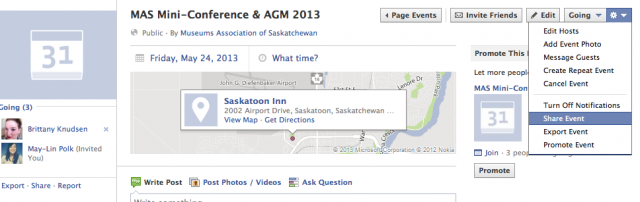
Go into your event again and from the top right hand corner button drop down choose “Share Event”.
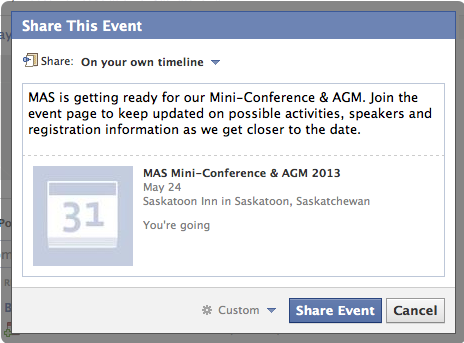
Make sure the share is set to “On your own timeline”. Add your details and hit “Share Event”.
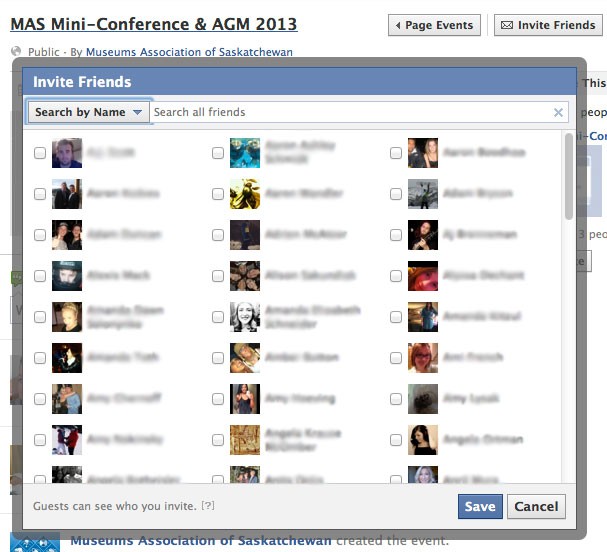
Lastly, you can invite your personal friends to join the event page. While you are still using your personal account, click on the “Invite Friends” button. Go through and select the friends you would like to invite and hit “Save”. It’s best to use discretion when sending out invites. Select friends who you know might have a particular interest in your event rather than just inviting everyone.
Well that’s all for today. I hope everyone is finding Facebook to be a useful and worthwhile promotional tool. Whether you’re new to Facebook or you’ve been using it for what seems like forever, we want to know how your experience has been. Is there anything new you’d like to learn or is there something you’re having trouble with? Let us know in the comments section below!
Spring/Summer 2026 This summer Heritage Saskatchewan and the Museums Association of Saskatchewan are moving forward with our Key to Cultural Heritage initiative, a program to encourage people to visit cultural heritage places
The Diefenbaker Canada Centre is recruiting 4 full-time Heritage Educators to support a variety of exciting educational and outreach initiatives planned for the spring and summer. Heritage Educators will deliver educational programming and provide guided tours of the USask campus and DCC exhibit galleries. They
The Diefenbaker Canada Centre is recruiting a full-time Exhibit and Collections Assistant (ECA) for the summer. Candidates must be a current undergraduate university student who has completed at least two years of study ideally; preferred fields are